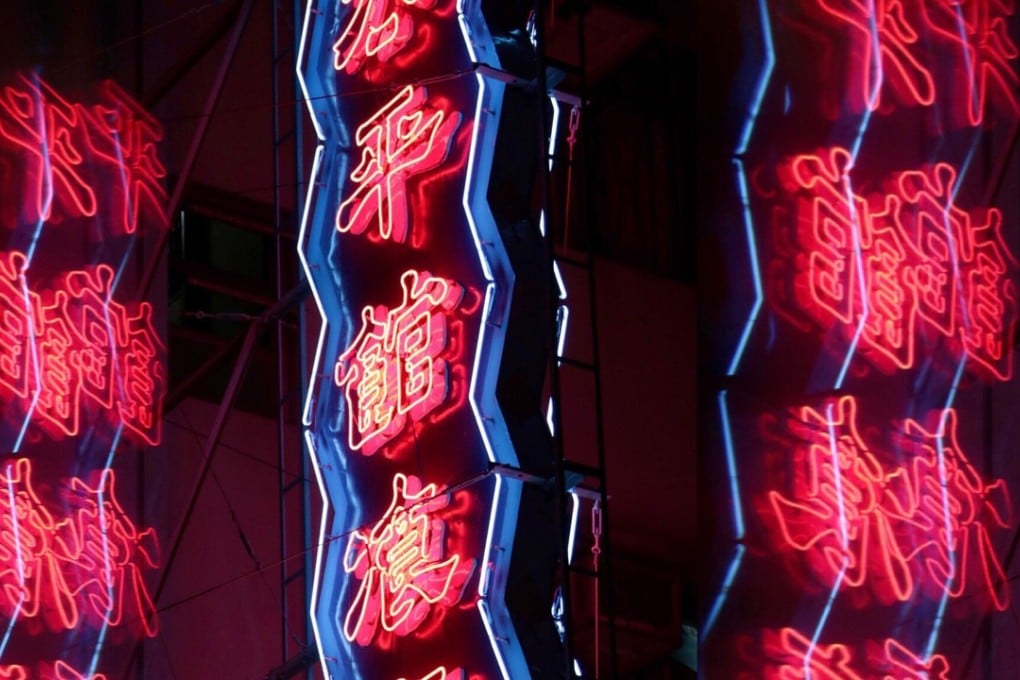
How to photograph neon signs: 5 tips for beginners
Learning to take photos at night is easy if you know how to set up the perfect shot for the ultimate Instagram post

Some of the world’s most photogenic cities - New York, Las Vegas, Hong Kong, London - owe much of their night-time visual appeal to neon lights. Photographers are attracted from all across the globe like flies to a, well, light, to capture the vibrant signs that hang from these cities’ famous buildings.
But taking photos of neon lights isn’t that straightforward. You need to know how to work in low light, and have the patience for post-processing, not to mention a great deal of creativity.
If you’re looking to preserve your own slice of a city’s neon cityscape, grab your best gear and follow these five simple tips and tricks.
1. Bring along some props
Making a picture of a sign look interesting can take a little more than just an intriguing angle. Sometimes, you need to a prop to spice up your shot.
Try holding the reflective side of a CD up to your lens. You might have to play around with the angle of the disc, but once you get it in the right position, you’ll get a burst of colour which will fill up the blank space in your image.
For a more sophisticated look, you could buy a glass prism off eBay or Amazon. Prisms refract light so they can create rainbows and flares that can give your photo a really cool effect.

If all else fails, use the reflective surfaces around you; anything from shop windows to puddles on the floor can turn an ordinary photo into something spectacular.