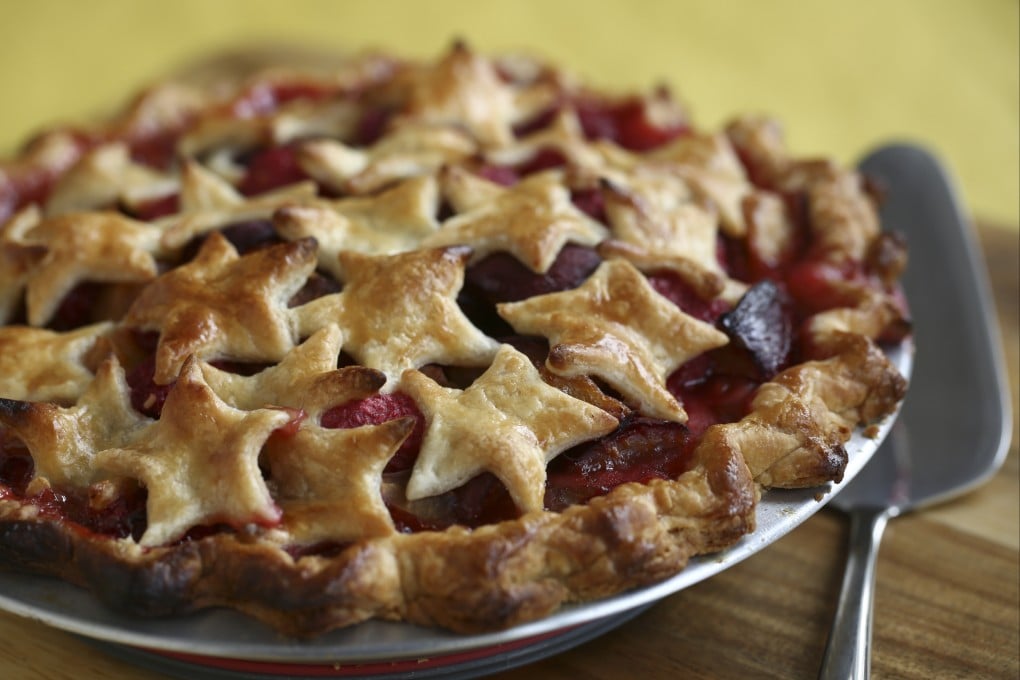
How to make plum and raspberry pie: a sweet, tart dessert that tastes as good as it looks
- Get the best colour by using firm dark plums or pluots (a cross between plums and apricots), and adjust the sweetness to your liking
- If you have a pizza stone, baking the pie on it will brown the bottom nicely – just preheat it on the bottom shelf

Fresh plums have a long season – you can find different varieties in the market for most of the year. Plums and raspberries are a classic culinary combination.
For the best flavour and colour in this recipe, choose firm varieties of purple plums that aren’t overly juicy; depending on availability, I use sugar plums or black pluots (which are a delicious cross between plums and apricots). Save the juicy varieties for eating on their own.
Plum and raspberry pie
I prefer my pies a little on the tart side, but if you like sweeter desserts, use the larger amount of sugar given. Baking the pie on a pizza stone helps to brown the bottom crust. If you have one, place the pizza stone on a rack on the lowest shelf of the oven before preheating it.

Ingredients
For the crust:
-
240 grams (8½ oz) plain (all-purpose) flour, plus extra for rolling
-
½ tsp fine sea salt
-
10 grams (2 tsp) granulated sugar
-
170 grams (6 oz) unsalted butter, chilled
-
About 60ml (¼ cup) iced water
-
1 egg, for brushing
For the filling:
-
750 grams (26½ oz) pitted plums (from about 900 grams [31¾ oz] whole fruit)
-
75-125 grams (¼ cup and 2 tbsp to 2/3 cup) granulated sugar
-
½ tsp fine sea salt
-
15ml (1 tbsp) fresh lemon juice
-
200 grams (7 oz) fresh raspberries
-
50 grams (1¾ oz) cornstarch (cornflour)
1. Make the pastry dough. Put the flour, salt and sugar in the bowl of a food processor and pulse to combine. Add the butter and pulse again until the pieces are the size of peas, then transfer the ingredients to a large bowl. If you don’t have a food processor, put the flour, sugar and salt in a large bowl and use a pastry cutter (or two dinner knives) to cut the butter into small pieces.
2. Drizzle the iced water over the ingredients. Mix with your fingertips to form a shaggy dough that’s neither wet nor dry, drizzling in more iced water, if necessary. Briefly knead the mixture until it’s cohesive; you should still see streaks of butter in the dough.
3. Divide the dough into two parts, one slightly larger than the other, and shape them into flat discs. Wrap in cling film and refrigerate for at least an hour. If you refrigerate it longer, let the dough warm slightly at room temperature before rolling it out.
